How to Clean Implants with Waterpik: A Comprehensive Guide
Maintaining oral hygiene is crucial, especially if you have dental implants. Among the various methods available, using a Waterpik has gained popularity for its efficiency. In this guide, we’ll walk you through the process of cleaning implants with a Waterpik, providing you with expert advice and answering common questions.
The Efficacy of Waterpik for Implant Cleaning
Ensuring your dental implants stay free from plaque and bacteria is essential for their longevity and your overall oral health. Neglecting proper cleaning can lead to complications and even implant failure.
Waterpik: A Powerful Tool
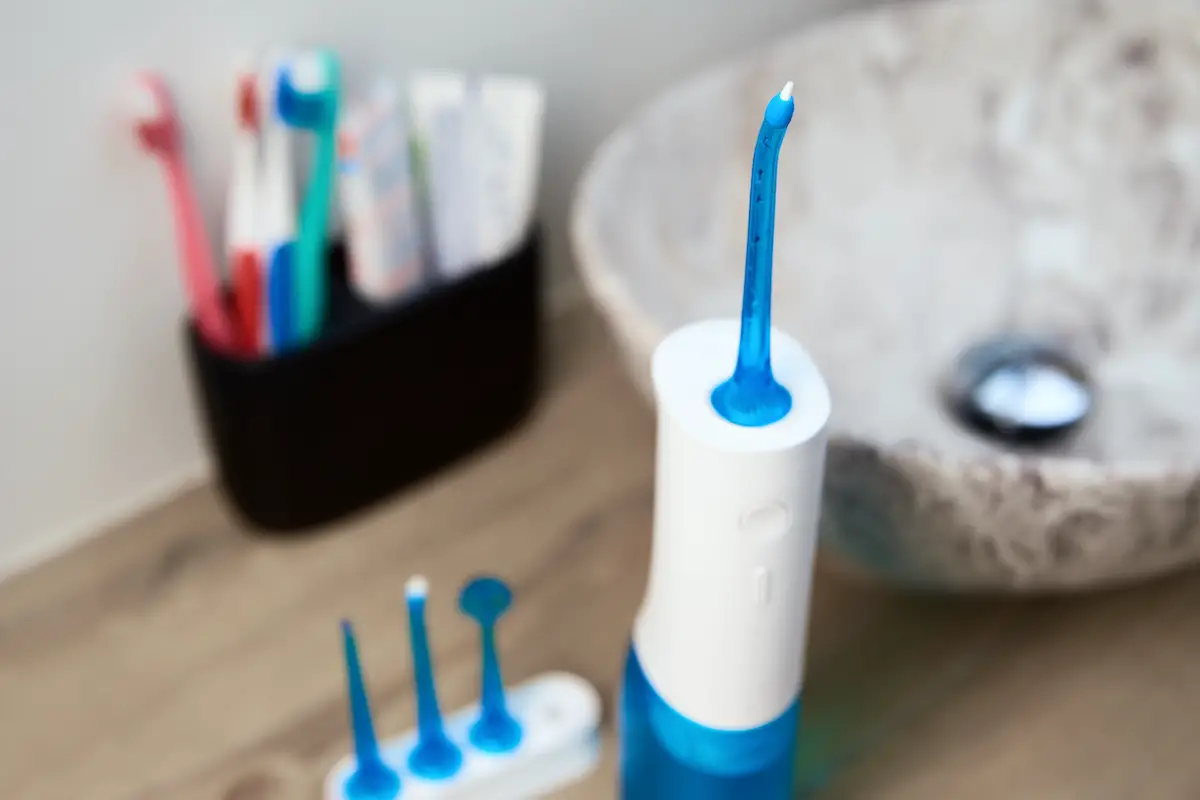
A Waterpik, also known as a water flosser, utilizes a stream of pulsating water to remove food particles and plaque from between your teeth and around implants. Its effectiveness makes it an invaluable addition to your oral hygiene routine.
The Waterpik Advantage
A Waterpik is an invaluable tool for implant cleaning. Its pulsating water stream can reach areas that traditional flossing may miss, ensuring a comprehensive clean.
Gentle Yet Effective
The adjustable water pressure allows for a customized cleaning experience. This means you can remove debris without causing discomfort or damage to the implant site.
How to Clean Implants with Waterpik
Step 1: Gather Your Supplies
Before you begin, assemble the necessary items: a Waterpik with an appropriate attachment, lukewarm water, and an antimicrobial mouthwash recommended by your dentist.
Step 2: Adjust the Water Pressure
Start with the lowest setting and gradually increase the pressure until it comfortably removes debris without causing discomfort.
Step 3: Proper Technique
Hold the Waterpik at a 90-degree angle to your gums. Gently trace along the gum line and around the implant, allowing the water stream to dislodge any buildup.
Step 4: Pay Attention to Interdental Spaces
Focusing on the spaces between teeth and around the implant abutment is crucial. Move the nozzle in a controlled motion, ensuring you cover all areas.
Step 5: Rinse and Use Mouthwash
After using the Waterpik, rinse your mouth thoroughly with lukewarm water. Follow up with a mouthwash to eliminate any remaining bacteria.
The Importance of Implant Cleaning
Properly cleaning dental implants is essential for several reasons:
Preventing Plaque Buildup
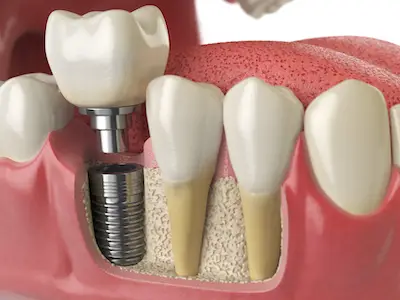
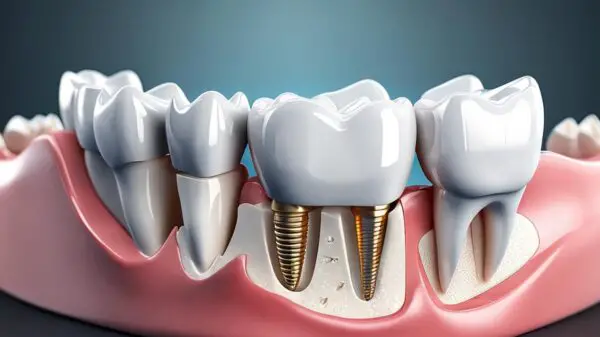
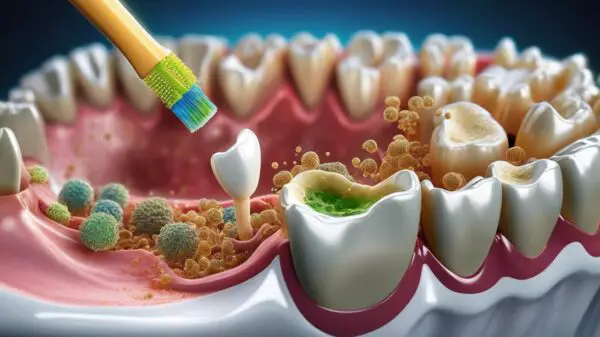
Plaque accumulation on implants can lead to various complications, including gum disease and implant failure. Regular cleaning is the first line of defense against plaque.
Avoiding Peri-Implantitis
This is a condition where the tissues around the implant become inflamed. Thorough cleaning helps prevent this painful and potentially serious problem.
Ensuring Longevity
Dental implants are a significant investment in both time and money. Proper care and cleaning can extend their lifespan, providing you with a lasting solution for missing teeth.
Why Waterpik Attachment Selection Matters
The right Waterpik attachment can make a significant difference in your oral hygiene routine:
Targeted Cleaning
Different attachments are designed for specific areas, such as interdental spaces, gums, or implants. Choosing the right one ensures a thorough clean.
Comfortable Usage
Selecting an attachment that suits your specific needs and comfort level makes the Waterpik a more user-friendly tool.
Effective Plaque Removal
Certain attachments are better at dislodging plaque and debris. Choosing the right one maximizes the effectiveness of your oral hygiene routine.
Types of Waterpik Attachments
Classic Jet Tip
This versatile attachment is suitable for general use and can effectively clean around dental implants. Its narrow tip provides precise water flow.
Orthodontic Tip
Designed with orthodontic patients in mind, this attachment is ideal for cleaning around braces, wires, and other orthodontic appliances.
Pik Pocket Tip
This tip is specially designed for periodontal pockets and furcations, making it an excellent choice for those with advanced gum disease.
Plaque Seeker Tip
Featuring a pointed tip, this attachment is highly effective at targeting plaque build-up and is recommended for those with dental restorations.
Choosing the Right Attachment for Implants
Consider Your Specific Needs
Evaluate your oral health needs, including the presence of dental implants. If you have implants, a combination of the Classic Jet Tip and Plaque Seeker Tip is often recommended.
Consult Your Dentist
Your dentist can provide valuable insights into which Waterpik attachment is best suited for your individual oral health needs, especially if you have dental implants.
Test and Adjust
Experiment with different attachments to find the one that offers the most comfortable and effective cleaning experience.
Additional Ways To Keep Your Dental Implants Clean
While using a Waterpik is an excellent way to clean dental implants, there are additional methods you can incorporate into your oral hygiene routine. In this article, we will explore alternative approaches to ensure your dental implants stay clean and healthy.
Regular Brushing and Flossing
1. Choose a Soft-Bristled Toothbrush
Opt for a soft-bristled toothbrush to avoid damaging the implant or causing irritation to the surrounding gum tissue.
2. Use a Non-Abrasive Toothpaste
Select a non-abrasive toothpaste to gently clean the implant and surrounding areas. Avoid products with harsh abrasives that may scratch the surface.
3. Practice Gentle Brushing Techniques
Brush your dental implants using gentle circular motions. Pay close attention to the gumline and areas around the implant.
4. Incorporate Interdental Brushes
Interdental brushes are specially designed to clean between teeth and around dental work, including implants. They can reach areas that traditional floss may miss.
Non-Alcoholic Mouthwash
1. Opt for an Antimicrobial Mouthwash
Choose a non-alcoholic antimicrobial mouthwash to help kill bacteria and reduce plaque buildup around the implant.
2. Rinse Regularly
Include mouthwash as part of your daily oral hygiene routine. Rinse thoroughly to ensure the antimicrobial properties reach all areas.
Regular Dental Cleanings
Regular visits to your dentist are crucial for monitoring the health of your implants and addressing any potential issues early on.
During your dental appointments, your dentist or dental hygienist can perform professional cleanings to remove plaque and ensure your implants remain in top condition.
FAQs About Cleaning Implants with Waterpik
How Often Should I Use a Waterpik on My Implants?
It’s recommended to use a Waterpik at least once a day to maintain optimal oral hygiene around your implants.
Can I Use Regular Tap Water in My Waterpik?
Using distilled or filtered water is advised to prevent mineral buildup in the device.
Is It Normal to Experience Mild Discomfort During Waterpik Use?
Some initial sensitivity is common, especially if your implants are new. However, if discomfort persists, consult your dentist.
Are There Any Problems with Using a Waterpik on Implants?
Waterpiks are generally safe for implant maintenance. However, consult your dentist if you have specific concerns or conditions.
Can I Share My Waterpik with Others in My Household?
For hygiene reasons, it’s best to have separate attachments for each family member.
How Do I Clean and Maintain My Waterpik?
Regularly clean the Waterpik’s reservoir and handle, following the manufacturer’s instructions. Replace the nozzle periodically.
Are Waterpik attachments compatible with all Waterpik models?
Most Waterpik attachments are designed to be compatible with a range of Waterpik models. However, it’s essential to check the compatibility information provided by the manufacturer.
How often should I replace my Waterpik attachment?
It’s recommended to replace your Waterpik attachment every three to six months, or sooner if you notice signs of wear and tear.
Conclusion
Maintaining clean implants is vital for their longevity and your oral health. With the right technique and a Waterpik, you can effectively remove plaque and bacteria. Remember to consult your dentist for personalized advice. Incorporate this method into your daily routine and enjoy a healthy, confident smile.

